Course waitlists are now available in PAWS. This pilot program is replacing the previous waitlisting processes. Students will now have the opportunity to place themselves on a waitlist in PAWS during registration. The step-by-step guide below will explain how to get on a waitlist. College Scheduler instructions for waitlisting classes will soon be available.
For more information about class availability, it is recommended that students contact their academic departments. Please review the following information before determining if a waitlist is appropriate for you.
Important Waitlist Information
- Waitlisting a class does not guarantee enrollment.
- There are a limited number of spots available for classes with a waitlist option. Getting on a class waitlist is not a guarantee.
- Not all classes will have a waitlist option. Having a waitlist available to students is at the discretion of the academic department.
- Students are limited to the number of waitlists they can join depending on their academic program.
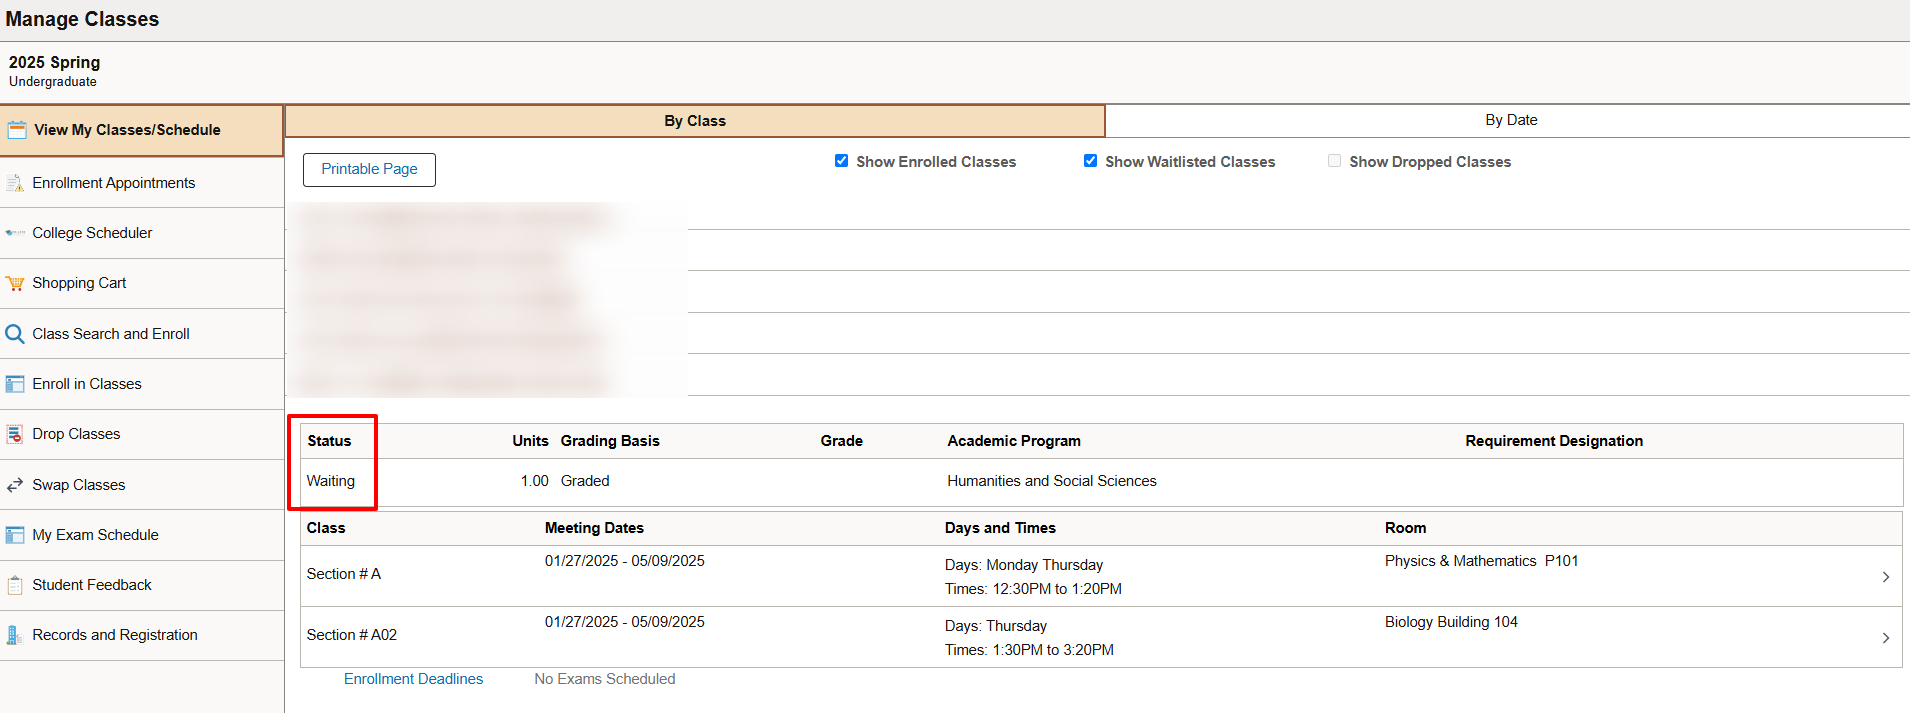
- Waitlisted sections will appear in a student’s class schedule, but will be noted as “Waiting.”
- When students attempt to waitlist a class, the following is checked. Students will not be able to put themselves on a waitlist if the following criteria is not met:
- Appointment
- Holds
- Department Consent
- Unit Load
- Requisites
- SWAP, DON’T DROP – If students enroll in one section and wish to waitlist another section, use the SWAP function. This will retain the enrolled section and only enroll students in the waitlisted section if a spot becomes available.
- If students waitlist one section of a class and enrolls in another section of the class, the waitlisted section will automatically be removed from their schedule.
Step-by-Step Guide on How to Waitlist a Class
-
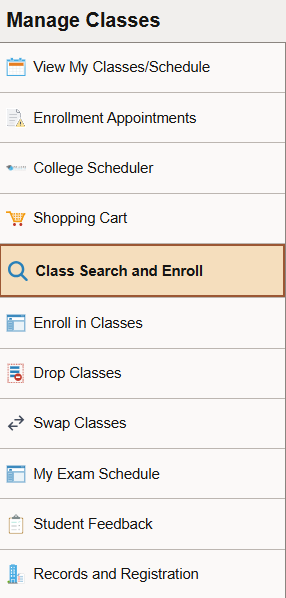
Sign into PAWS via TCNJ Today using your TCNJ username and password. Select the “Manage Classes” tile, then click on “Class Search and Enroll”.

-
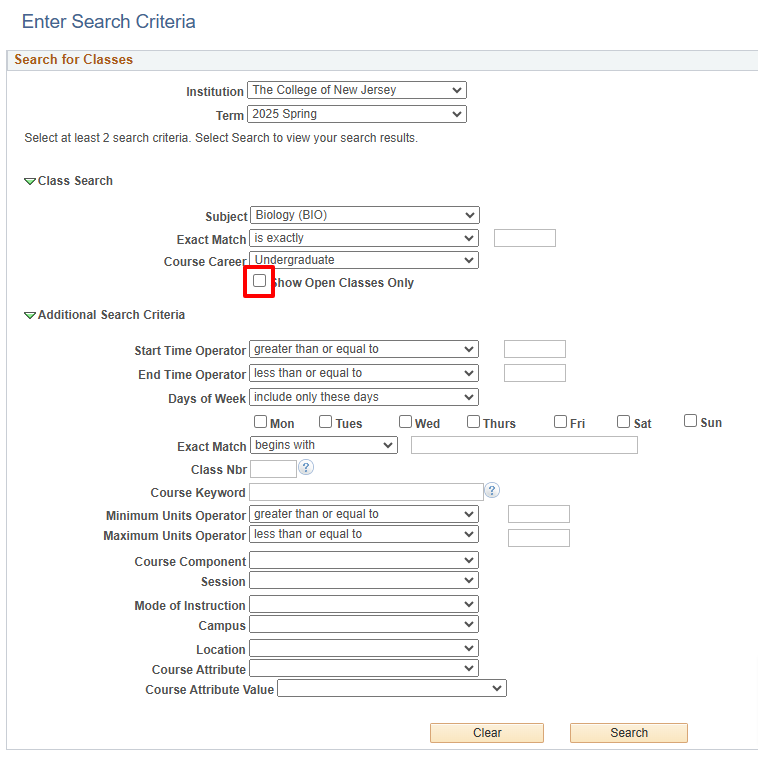
Use the Class Search function to search for a class. Uncheck the “Show Open Classes Only” to display all classes, including those that are closed, but have a waitlist.
-
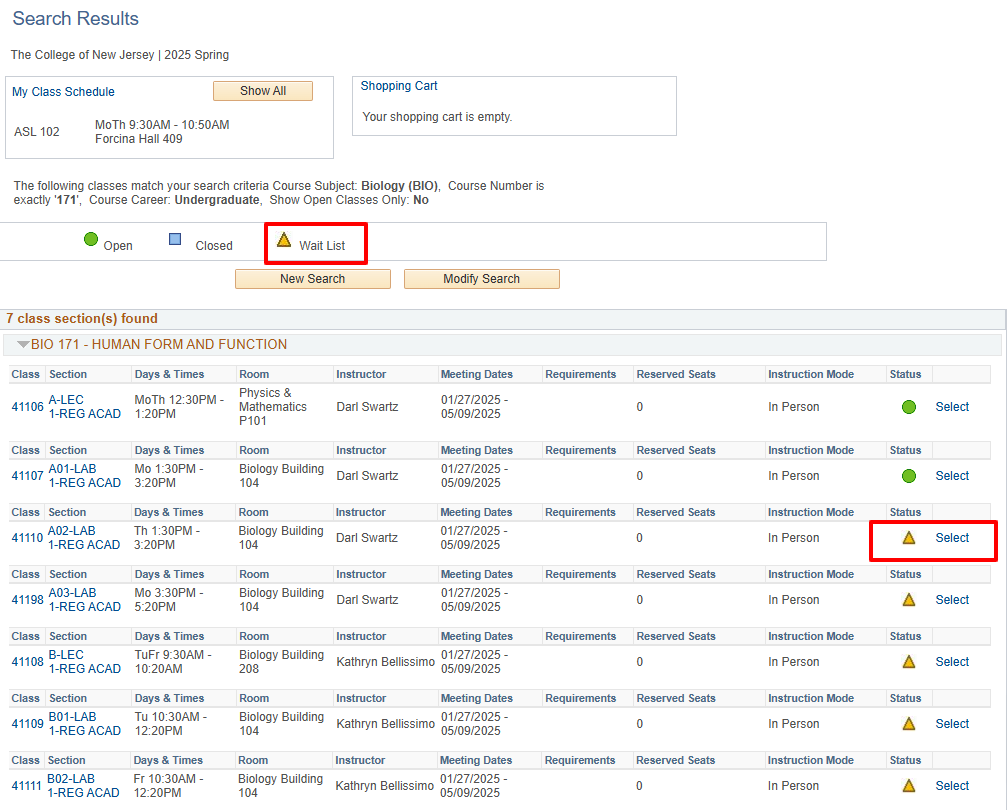
The yellow triangle icon indicates a waitlist is available. Choose the “Select” link of the class you wish to waitlist.
-
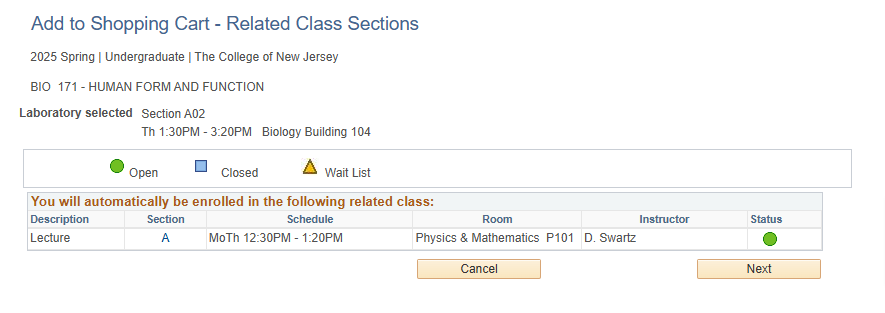
Choose the corresponding lab or lecture, if needed, and click the “Next” button.
-
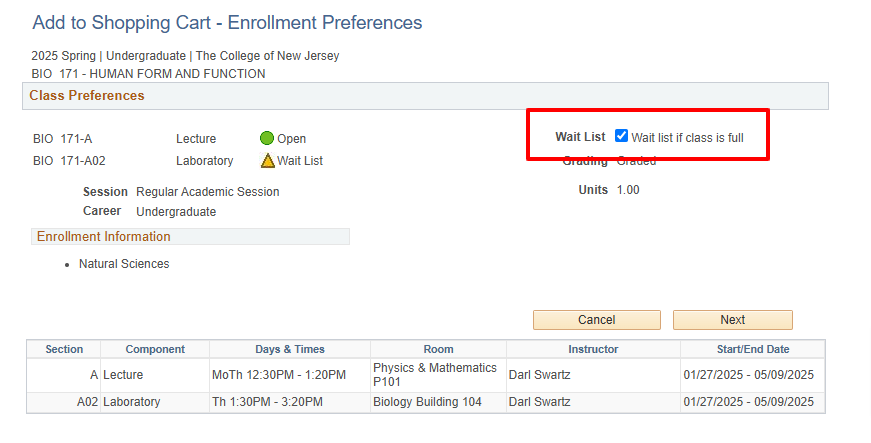
Check the “Wait list if class is full” checkbox and select “Next”.
-
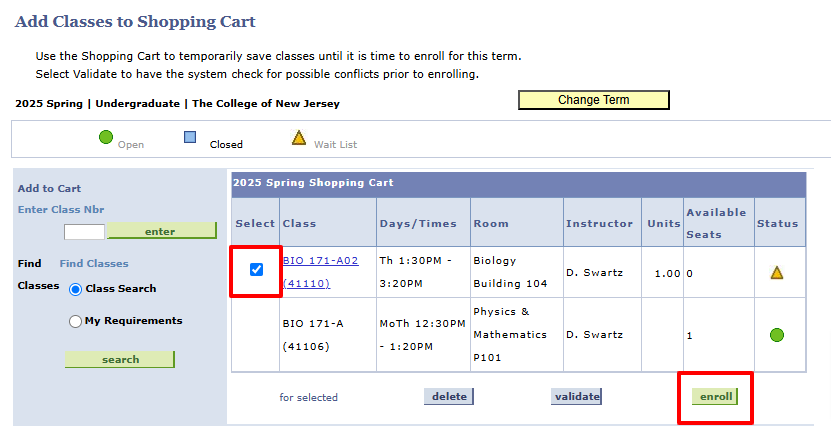
The waitlisted class will display in your Shopping Cart. Check the box in the “Select” column and click the “Enroll” button to move the waitlisted section to your schedule. Simply adding the waitlisted class to your Shopping Cart does not put you on the waitlist. You must “enroll” in the waitlist.
-
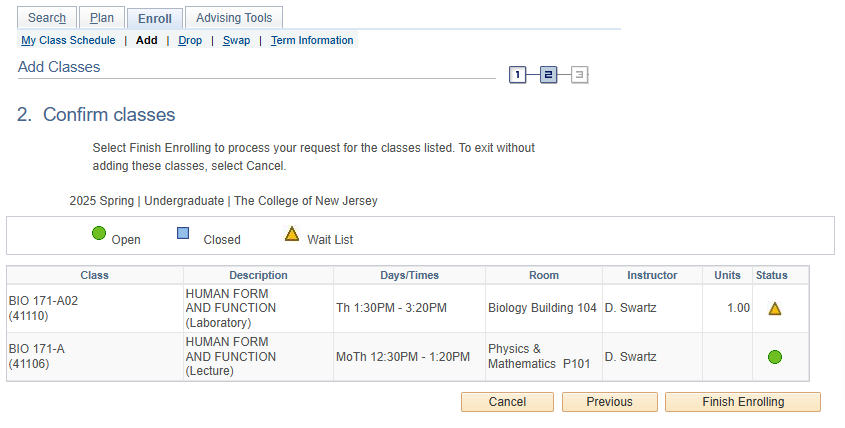
Select the “Finish Enrolling” button.
-
A message will display if you have successfully waitlisted the class.

-
Your waitlisted classes will be viewable on your schedule and noted as “Waiting”.